Finally have gotten around to giving you all an update on my progress so far. Last update I had started pinning and gluing the model.
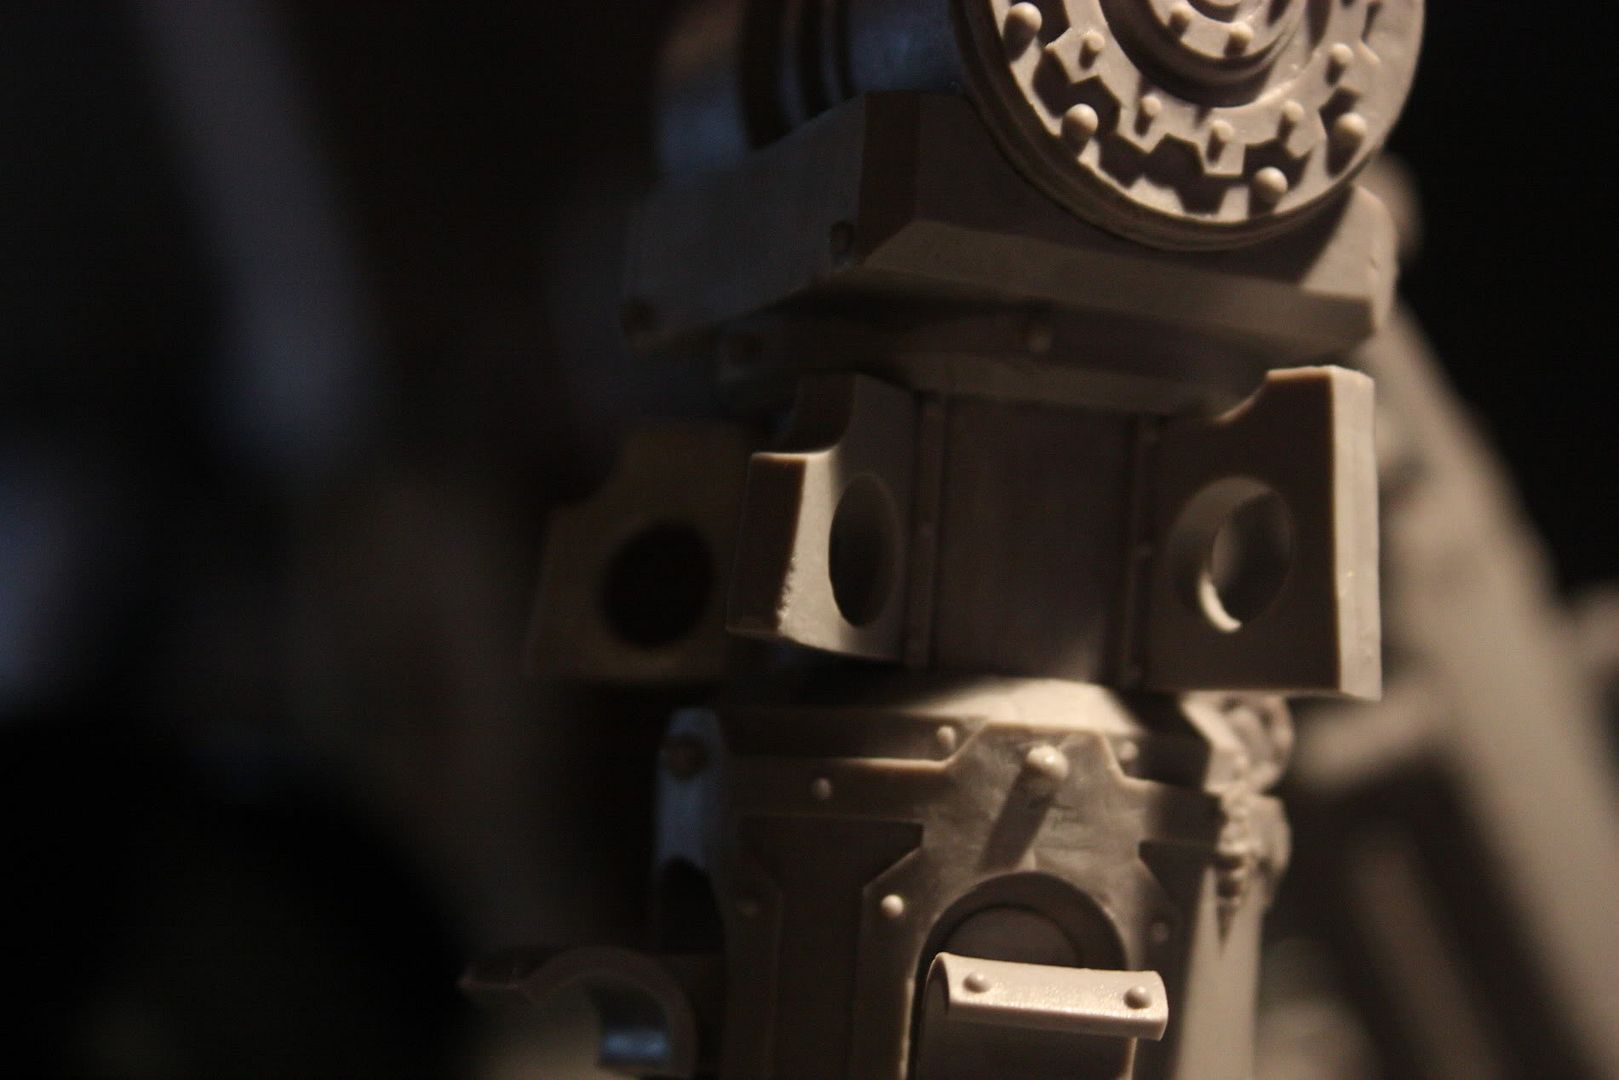
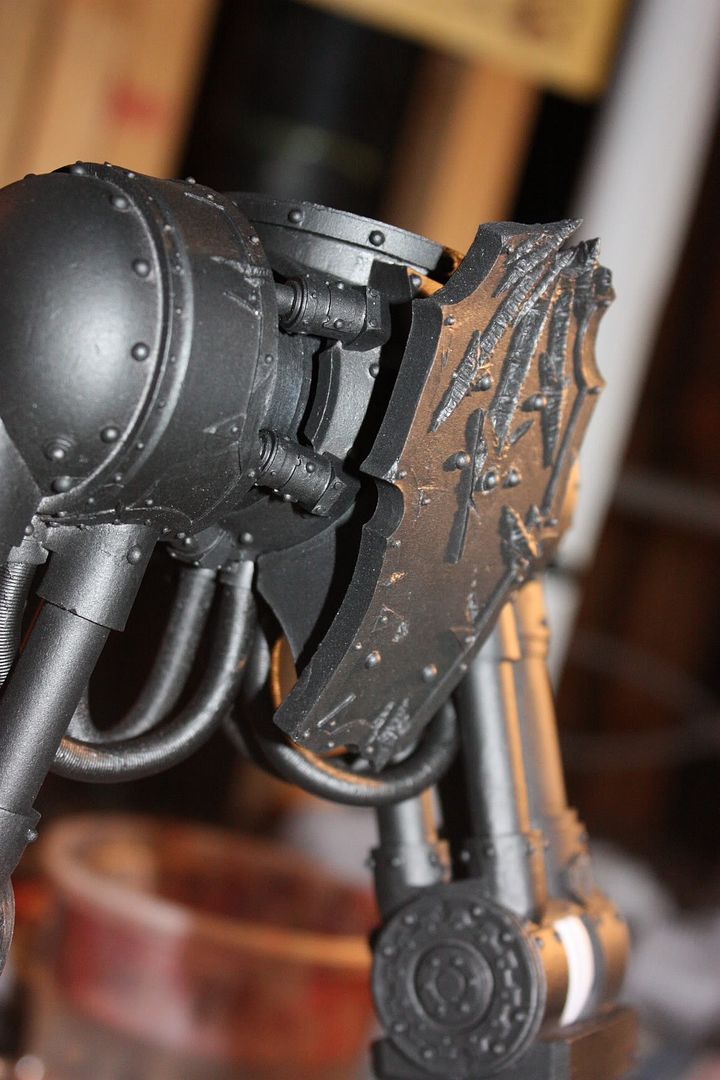
I got to the point where it was almost all done except for dry fitting the lower leg armor parts, which was a bit problematic since it wasn't lining up properly with the sockets as seen below:
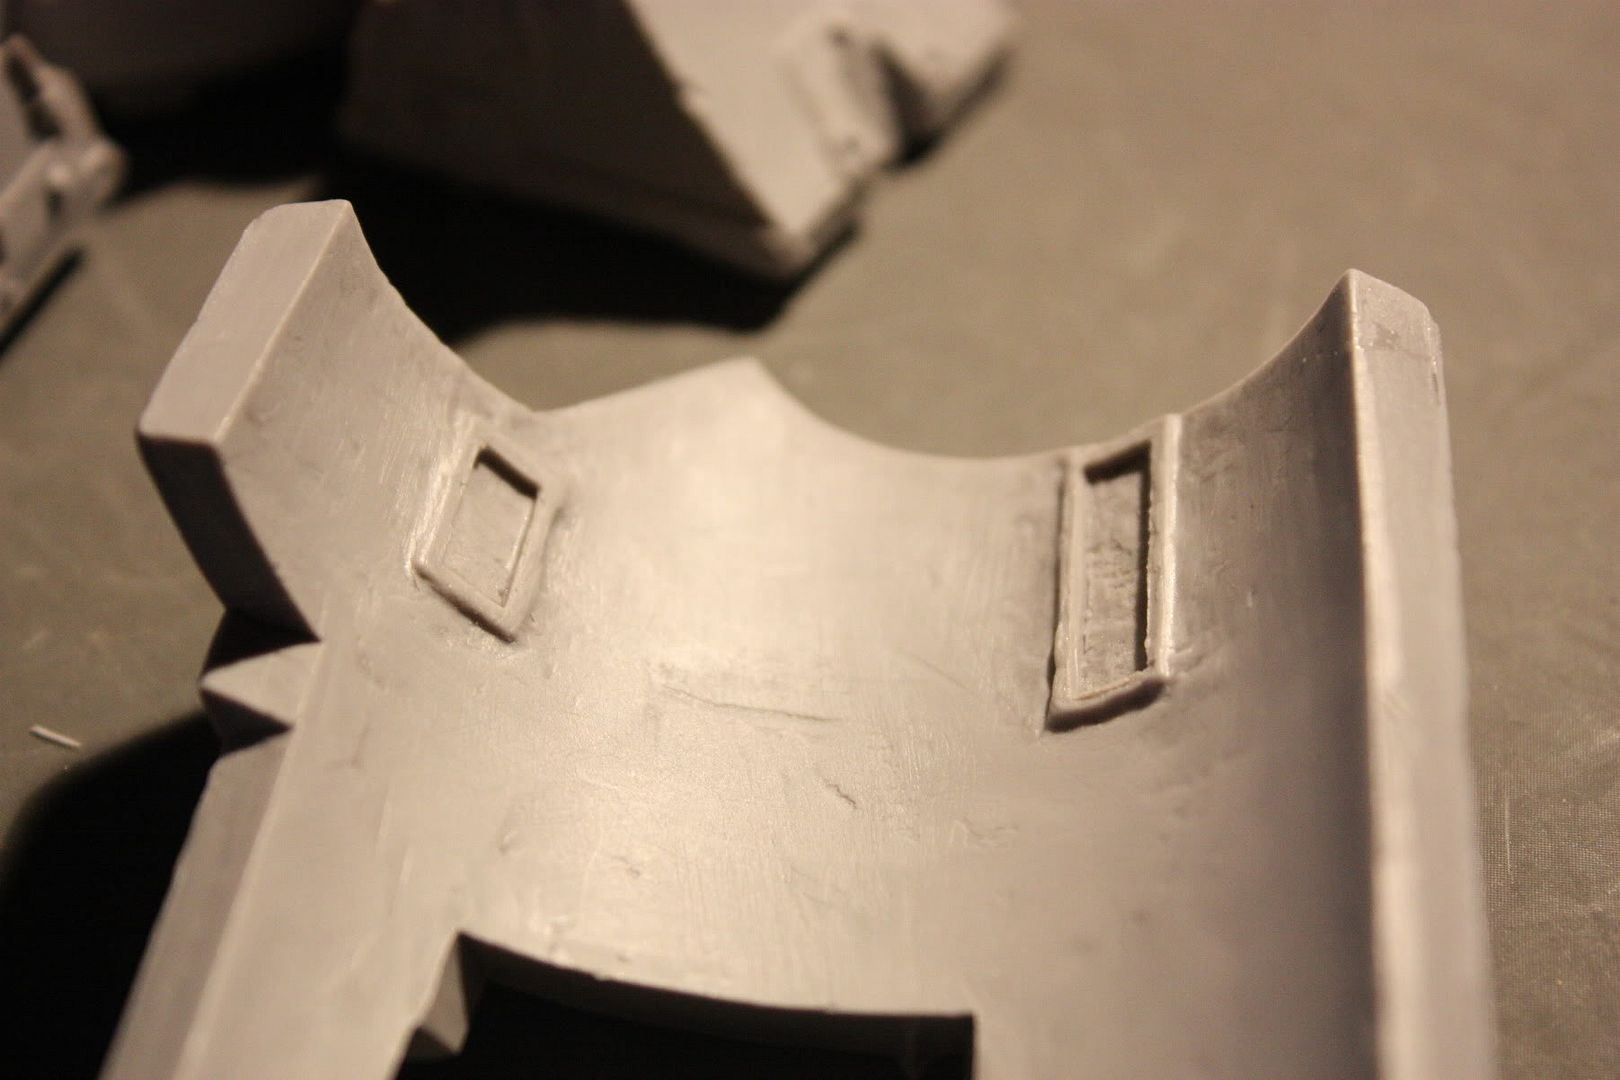
Lucky nothing that can't be fixed with the help of a hair dryer or heat gun. Once the resin gets hot enough you can just bend it into whatever position you need.
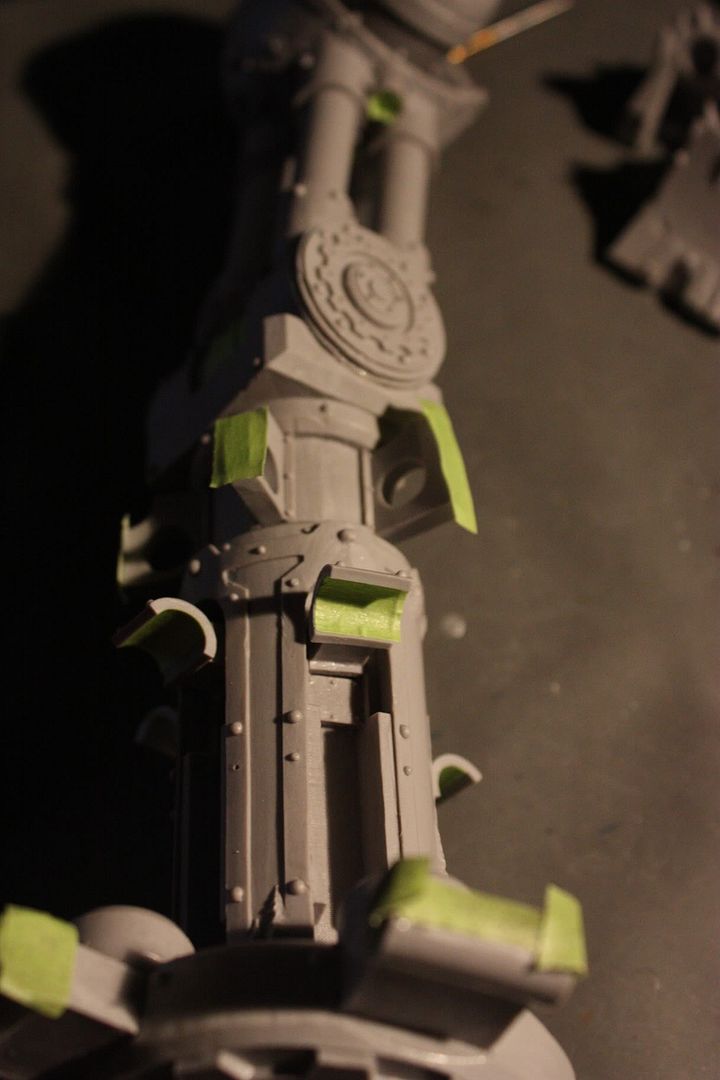
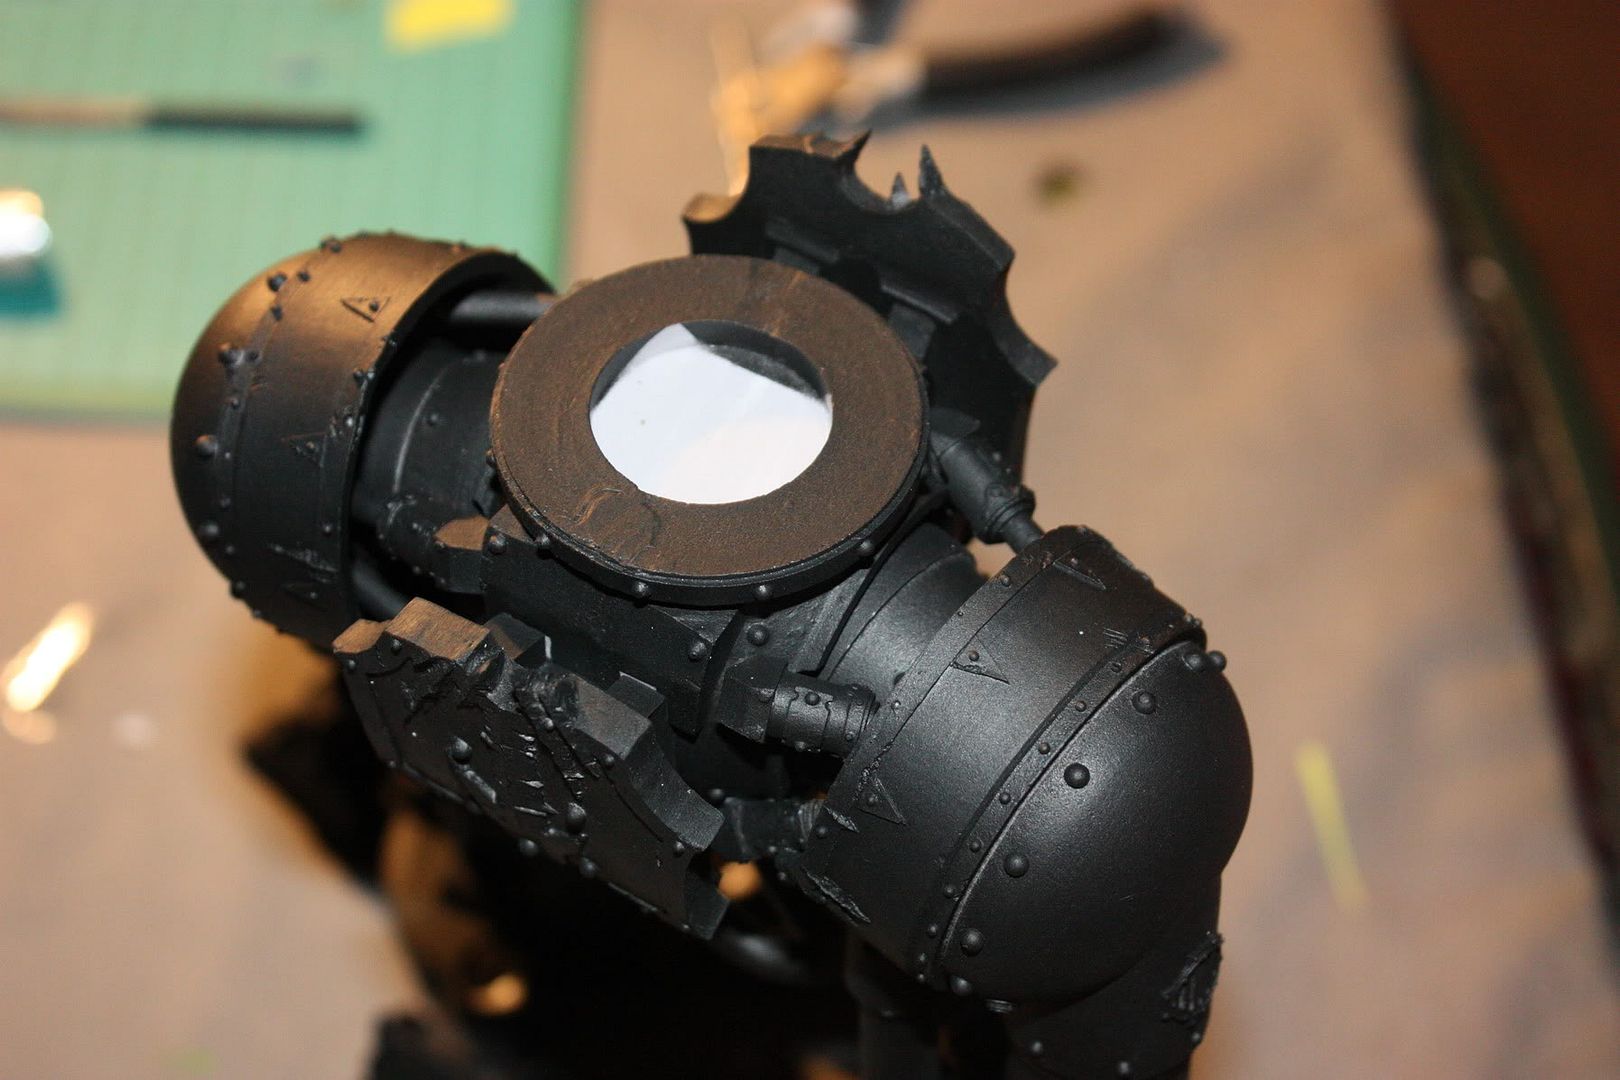
Once that was all done, I went ahead and prepared everything for priming. Took small bits of painters tape and stuck it on all the places where I would be gluing parts together.
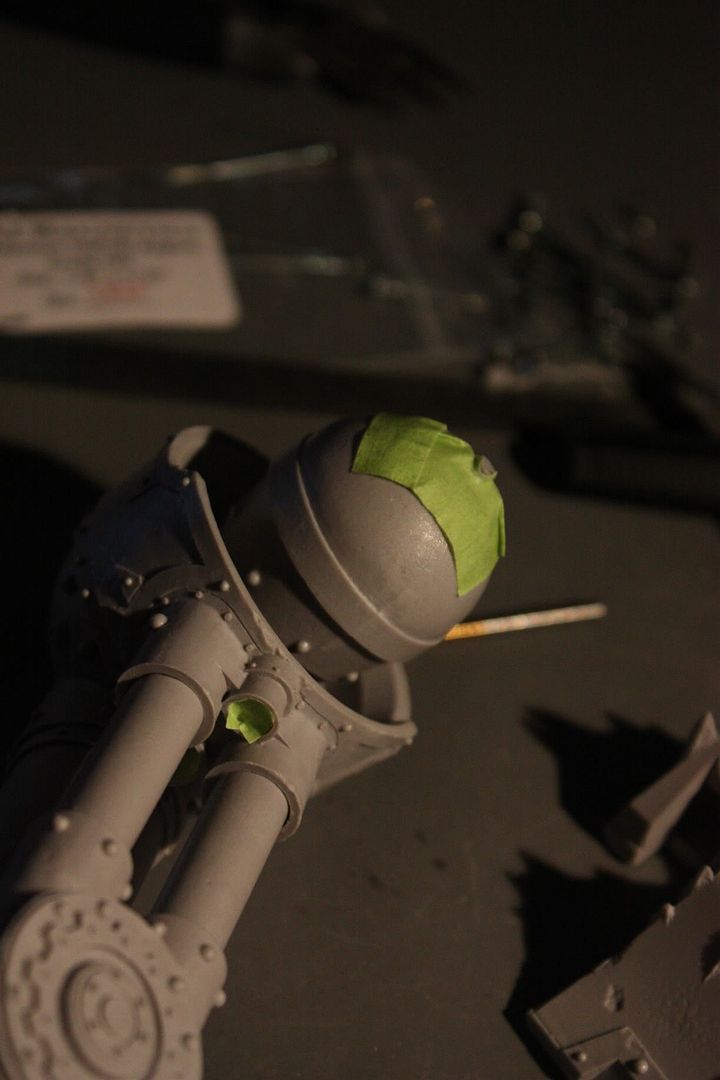
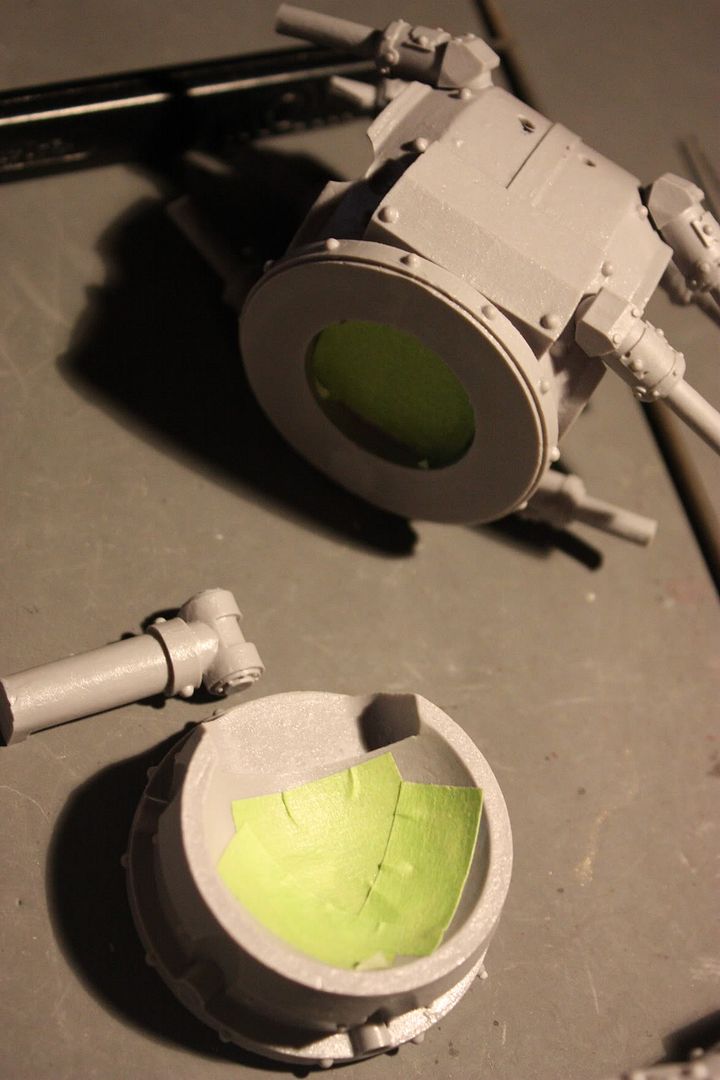
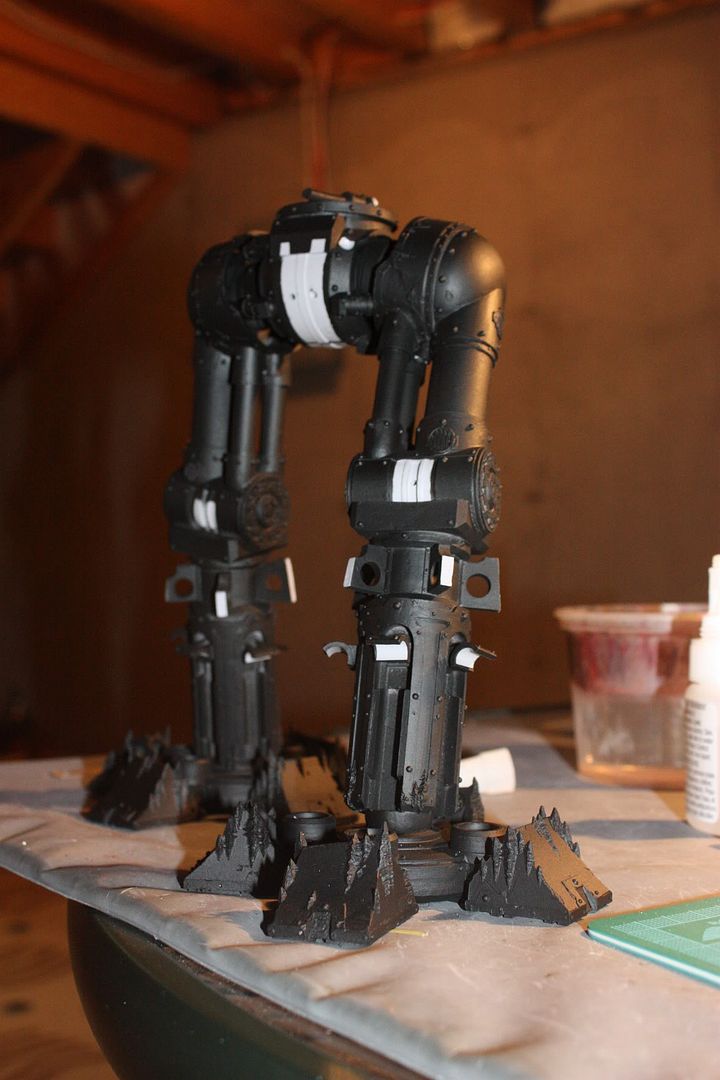
Next I primed all the parts, using the same method I described before. After that, I removed all the tape that I had attached from earlier.
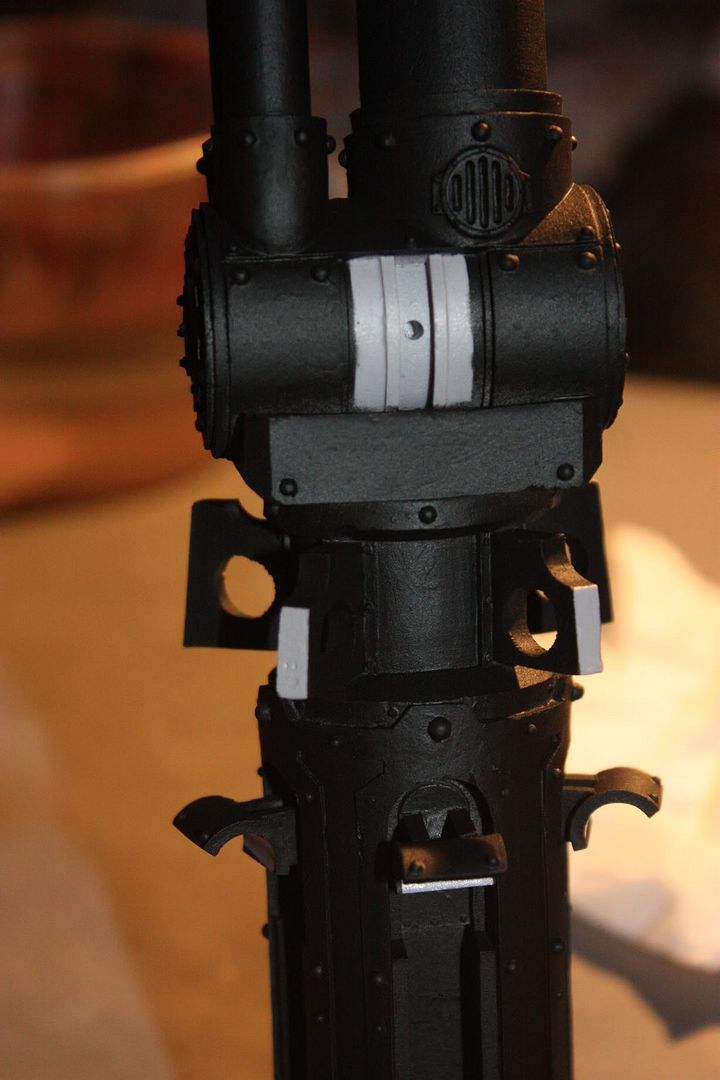
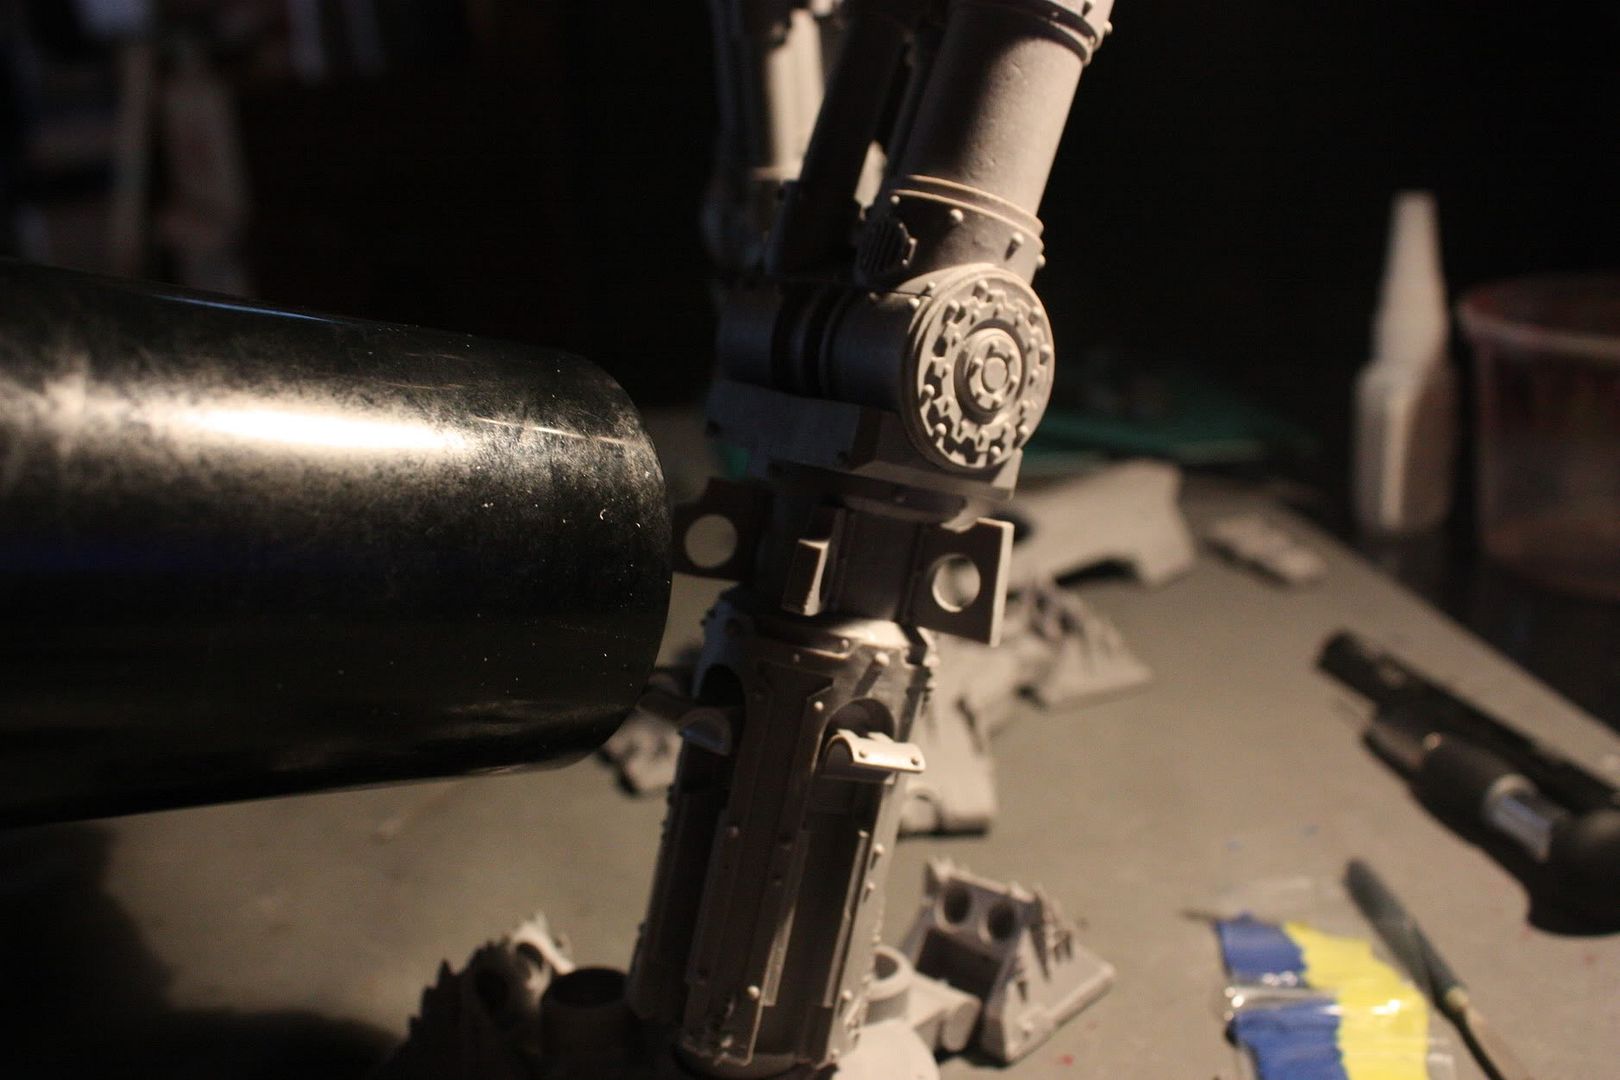
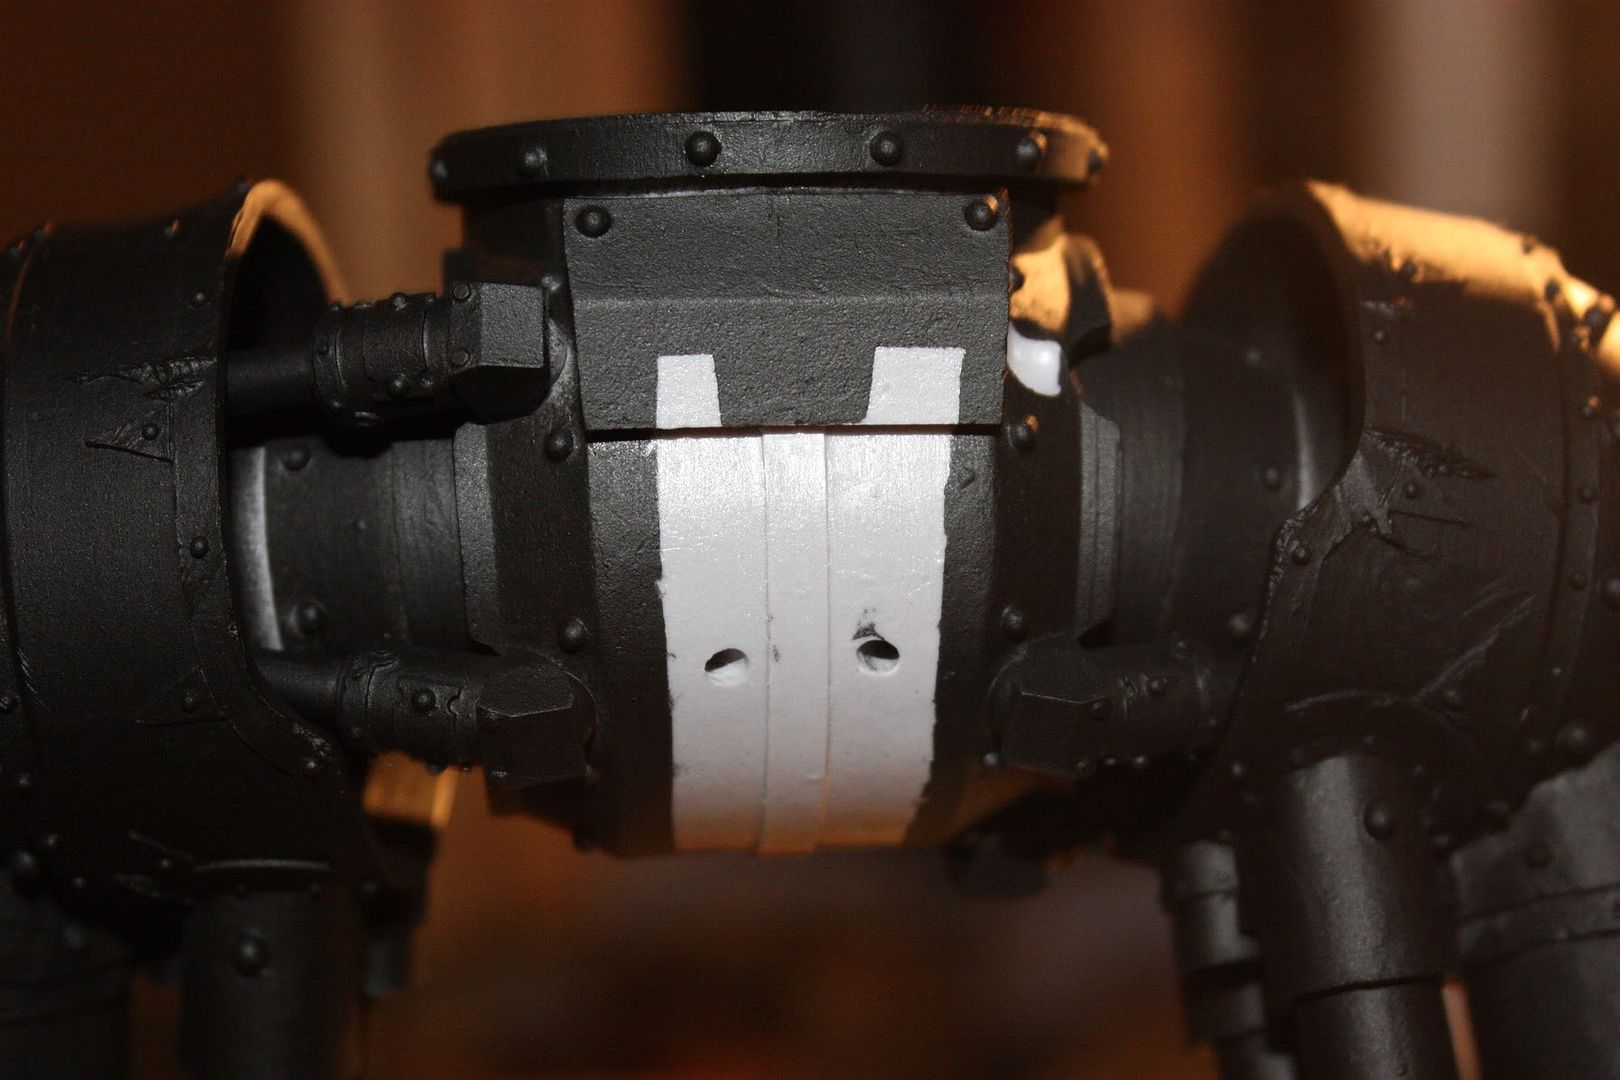
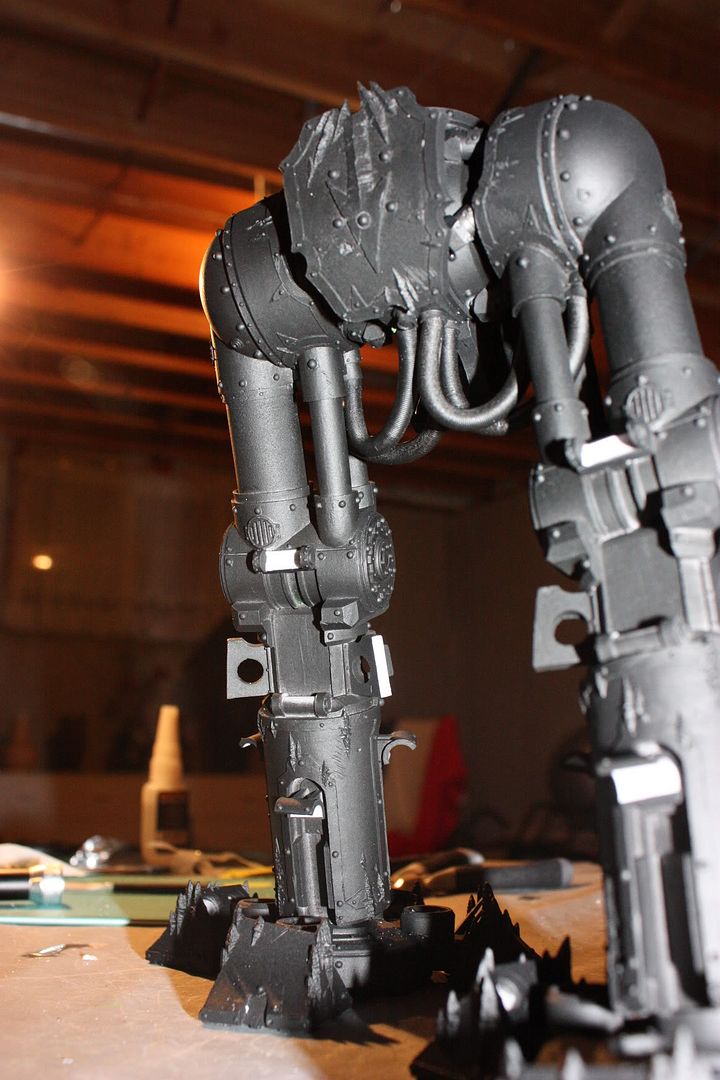
Unfortunately there were some areas where the primer could not reach, such as here. Might be hard to see, but towards the left side, there is a nice gleaming line of gray where the primer could not hit that well. I'm hope there is enough for the paint to stick, but we will see when I get to it.
There was another problem I didn't realize before, the back ankle piston, there is very little room, which is going to make it very difficult to glue in after, I got a couple of ideas to get around it, for now I'm not going to concern myself too much with it.

Finally came the gluing of all the remaining parts for the leg, only things I left unglued was the leg armor plates, knees, rear upper pistons, all the ankle pistons, and toes. Simply for the reason of being able to access all the areas for painting.
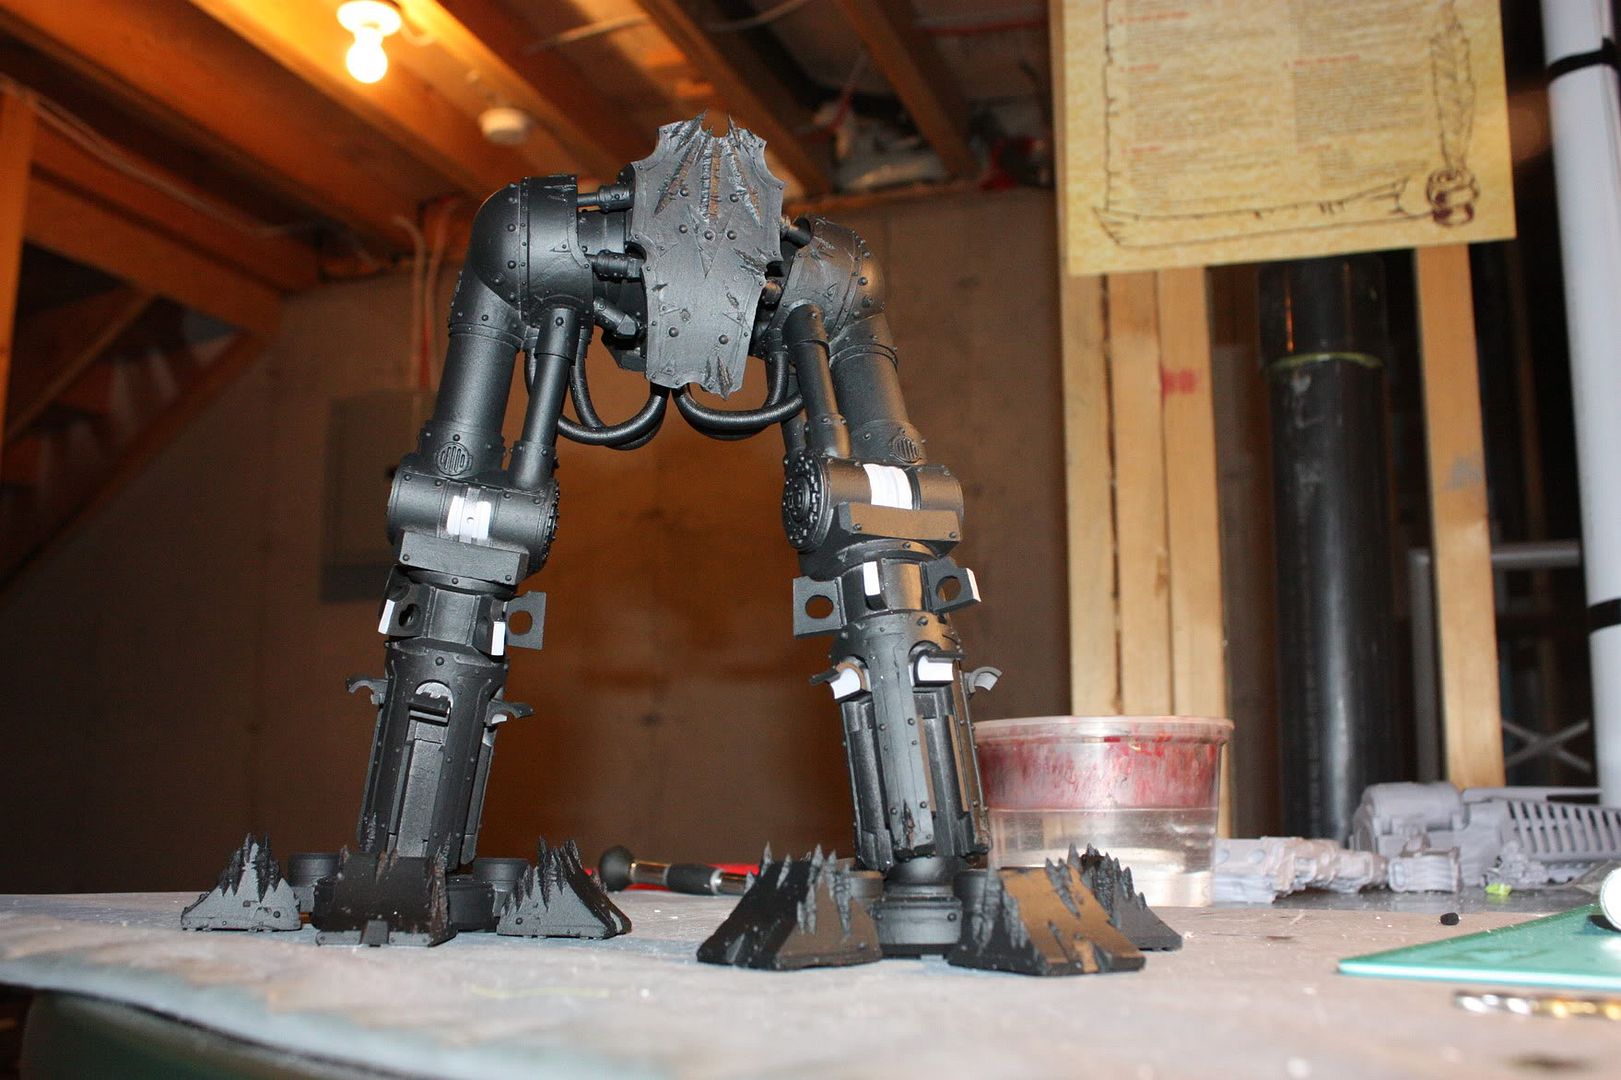
Well there you have it people, a long overdue update on the Chaos Reaver Titan. At this point I can finally start painting the legs. I'll have another update in about week hopefully.

that looks cool so far, I like your tip on the painters tape, I've always used blu tac.
ReplyDeleteThanks!
ReplyDeleteMy Dad paints for a living, been on some jobs with him, that's probably where I got the idea from. :p
Coming along nicely. Speaking of those leg armor brackets, if you look around the internet it appears that no one gets them perfect. There is usually a slight difference in armor on the legs. They are just so fiddly! I look forward to seeing more!
ReplyDeleteYeah, I've been realizing that now.
ReplyDeleteI also made a bit of mistake with priming this, that I forgot to mention.
I forgot to do the varnish on a bunch of parts, so I've been checking to see if the primer is flaking off, or can be scratched off. Seems for the bigger armor plates its fine. One of the pieces I will have to redo though, it is coming off.
I haven't checked all the toe pieces yet, I'll have to do that at some point, once I'm done my shifts.